

1. Preparation Work
Before beginning the installation, ensure that the conveyor system is completely shut down and powered off. Clean the work area, remove any obstacles, and create a safe environment for the installation process.
2. Positioning and Alignment
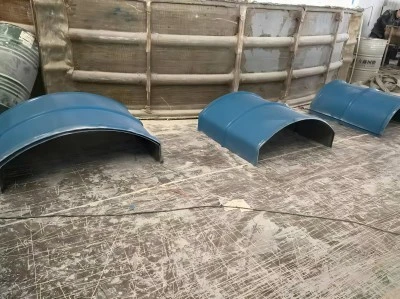
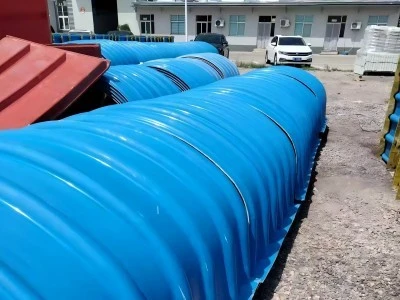
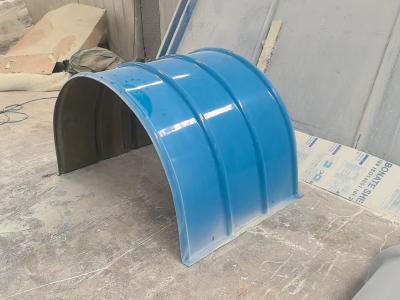
Place the FRP conveyor hood in the designated position and align it precisely with the conveyor components. Pay special attention to the alignment of the hinges, connection points, and fasteners to ensure a safe installation in the future.
3. Repairs and Connections
According to the manufacturer's guidelines, use the specified fasteners to securely attach the hood to the conveyor system. Ensure that all fasteners are tightened completely to prevent loosening or displacement during equipment operation.
4. Adjustment of Telescopic or Moving Parts
If the hood features a retractable or movable design, adjust it according to operational requirements. Always adhere to the manufacturer's instructions to ensure proper adjustment and smooth operation of the moving parts.
5. Seal Inspection
Carefully inspect the seals and gaskets of the hood to ensure they are intact and undamaged. Seals play a vital role in preventing moisture, dust, and other contaminants from entering the conveyor system.
6. Operational Testing
After installation, start the conveyor system and monitor the performance of the hood. Check for misalignment, vibration, or any other abnormal phenomena during operation. Ensure that the hood effectively protects the conveyor components and prevents external contamination.
7. Regular Maintenance
Develop a comprehensive maintenance plan for the hood, which should include the following:
Check for signs of wear, damage, or deterioration.
Please clean the surface of the hood by removing any dust and debris.
Lubricate the moving parts, if applicable.
Contact usto learn more about conveyor cover.